Showing posts with label bag. Show all posts

Friday, October 22, 2010

Diaper Bag

It's been a long time since I posted but with good reason.  I promise. :)  Baby #4 is on her way and will be here in a matter of weeks.  (Yikes!)  We've also decided that it is time to sell the house.  Sooo between pregnancy and moving/house selling prep, life's been crazy. 

Lately I've been in a crafting frenzy, though.  Nesting?  Probably.  I have a long list of projects I'd like to do before the baby gets here and luckily have been able to get quite a few of them done.  One of those projects is this bag from Make-It-and-Love-It.  I really wanted a new diaper bag and loved the messenger style of this one.  Plus I thought the stroll straps would come in handy.   


With a little help from my super crafty mom, I added some pockets.  (Thanks Mom!)


It still needed a little something so I cut out a flower from the lining and appliqued it on the front.


One suggestion I'd make, especially if you are using a lighter weight fabric, add some sort of interfacing to help the bag hold it's shape better. 
It was an easy tutorial to follow and I am in love with the finished product. 

And a huge shout out to my hubby-he had to help me with the snaps.  Between my weak arms and a few mistakes, he helped quite a bit with putting those little suckers in. Love you babe!

Sunday, March 28, 2010

Purse Tutorial

I asked my Sister in Law to do a tutorial on her purses.... I am so excited to bring it to you. Thanks for helping us out Shellie!!!
I was really nervous when Anisa asked me to be a guest for a tutorial on my purses. I have been making these little purses for my daughter, they are super easy and super quick to sew, I even made a matching one for me... Instructions: ( All seam stitches 1/4 inch.)
1. I used 2 coordinating fabrics and cut them to the size I wanted. Note: the outside fabric and inside (Bag Lining) fabric are the same size.
2. Take your Front and back of the bag material and sew right sides together around 3 sides leaving the top open. 3. Take your bag lining fabric and sew right sides together around 3 sides: HOWEVER leave a large opening in the bottom of the bag. Somewhere between 6 and 8 inches should be plenty.
4. Flip the outside fabric so the right sides are showing, leave the bag lining with right sides facing each other. It should look something like this...
5. The straps - I cut 2 3" width strips of both fabrics. Note: The width the length depends on how long you want the straps to be on your purse, I measured my daughter.
6. With right sides facing sew down one side of the fabric, while sewing down the other side leave a 4-5" opening to flip the strips so the right side facing out..
7. Once your strap is flipped then iron the strap and sew down both sides to give it a finished look.
8. Sewing your bag together. Pin your straps to the bag, then slip the bag lining over the entire bag and pin the top of the bag together. Here is a good time to make sure your strap is not twisted.
9. Sew around the top of the bag
10. Remember that hole you left in the bottom of the bag, pull the entire bag through the hole.
11. Now Iron the bottom of the bag and sew the hole closed. Push the lining into the bag and...
You are done!!!

Sunday, February 21, 2010

Trinket Bag

In my blog surfing, I noticed that Made and Made by Rae were doing "Celebrate the Boy" for the month of February. Since I have 3 boys of my own, I've been checking out their blog all month. Both of the blogs had different posts about bags for boys. On Made, Dana has a super cute Hobo Sack. Love it, love it... totally cute!!! Then, over on Made by Rae, there was a guest post by Amazing Mae. She had these darling Trinket Keepers.

I have a little boy who I would say is a bit OCD. He decides that he likes a toy and will play with it non stop for days (until he's bored.) He's great about organizing things and lining things up and he loves to put things in groups in baggies. So, to save me some money on Ziploc bags, I thought I would make him is own drawstring bag. I liked the look of the trinket keeps on Amazing Mae, but I liked the idea of a bit bigger of a bag.

Right now his obsession is Trios. But that changes. So I didn't want his bag labeled for his toys because I'd be making a new bag every other day. So, my husband and I call our kids by the initial. I thought it would be cute to have is bag just say "Big J." Then he would use it for whatever his favorite toy is for the week.

So this is what I came up with:) I used my Cricut to cut the letter J out. I appliqued the J on the bag. Then I used my cricut to cut a stencil out of freezer paper. I stenciled acrylic paint over the bag and J and there it is. I then sewed it into a simple drawstring bag with a grosgrain ribbon tie.

He loves it and he takes his treasures everywhere with him now. -anisa

Monday, August 24, 2009

We love our readers!

We love our readers. And we especially love it when are readers work on crafts and we get to see what they do! Here are a couple that were sent in to us.
Liberty sent us these adorable pillows! They are made out of old button up shirts! How cool is that?
Shellie made these cute Placemat Purses after she saw Angie's post on them. Love them.... and that little girl is adorable too:) Sydney sent us this super cute purse that she made. She found the tutorial here on Lula Louise. I especially love the button on the front! It looks like we had a lot of our reader sewing this month... we've been busy sewing too! Check back later this week for our One Craft 3 Ways... we made aprons!!! And don't forget if you made anything with Seed Beads to send those in... we'd like to post your projects on our blog!

-Anisa

Friday, August 21, 2009

Blank Canvas

Canvas Bags.

Really.

They aren't much too look at.

They're sturdy.

They're practical.

They're good for the environment (as shopping bags and library bags).

They are also brimming with possibilities!

They come in a lot of shapes and sizes.

For this bag (which is little more than 7" tall) I used die-cut felt from Fancy Pants designs. I used a simple running stitch to applique it onto the canvas bag. You can't see it, but I wove embroidery floss through the braided handle to add a touch more color.

They come in a small variety of colors.

I did not want to buy a $14+ backpack for my new preschooler, so when I saw a colorful canvas bag I decided that this would be perfect for my little girl. It didn't take much convincing her. She loves it! The solid shapes are painted with regular acrylic paint and outlined with fabric paint. (Before you paint on a canvas bag, make sure you have a piece of cardboard inside the bag to prevent the paint from seaping through to the other side) The buttons are attatched with glittery fabric glue. The fluffy pink trim was simply attached with hot glue and it has held up perfectly.

And you can embroider them, paint them, sew on them, attach iron-ons, appliques, buttons... Craft with one today!

This is my new reuseable library book bag. I love it, but I'm also far from done with it. It seems like a fun project that I can add on to indefinitely and yet still use it in the meantime. It's mostly embroidery, but I'm beginning to add sead beads to add a bit of sparkle. Love it!

--C

Tuesday, June 30, 2009

Anisa was featured!

Angie and I just wanted to toot Anisa's horn for her and let you know her towel beach bag was featured on U create! Way to go, Anisa!

If you somehow missed her awesome tutorial, click here.

--C

Wednesday, June 24, 2009

Beach Towel Bag Tutorial

Beach Towel Bag Tutorial....
Supplies:
  • 1 Beach Towel (I bought the cheapest at Walmart)
  • 5 yards gros grain ribbon (just to be safe)
  • Sewing machine
  • Thread to match ribbon
Step #1- Fold the towel in half
Step #2- From the open side, measure in 22" and cut the towel (You are essentially cutting out the center of the towel. The excess that you cut off will make a pocket for the front of the bag) Step #3- Turn the towel and cut off about 4-5 inches of one side of the towel (otherwise the bag is just TOO big). You may want to serge or zig zag stitch any of the unfinished edges of the towel. Step #4- Now take the excess piece that you cut out of the center of the towel. This is going to be a pocket. The top of the pocket is going to be one of the edges that is already finished. From that end, measure down 18" and cut the other edge off. Step #5- Take the pocket and place it on one of the pieces of your bag. You will want all of the finished edges to be at the TOP of the bag. You will want your pocket to be about 5-6 inches down from the top of the bag. You are going to sew ribbon over the sides of the pocket so that none of the unfinished portion will show. Pin the pocket into place. Step #6- Sew the pocket onto the bag. Do NOT sew the top of the pocket (or you won't be able to put anything in your bag:) (I had a little excess on the bottom that I had to cut off only because I wanted the pattern to match up) Step #7- Place right sides of the towels together and pin just the bottom of the bag.
Step #8- Sew the bottom of the bag... do NOT sew any of the sides or the top.  You still want to be able to open it up fully to attach the ribbon. Step #9- open your bag up and lay it front side up on the floor or on a table. Step #10- Pin your handles all around your bag. I made the actual handle part of the bag 32". You will want to make sure the ribbon covers the side of your pockets. Step #11- Sew right on the edge of your gros grain ribbon... sew both sides. Step #12- Fold the towel right sides together. Step #13- Sew down the side of your bag (starting at the top) until you are about 6-8 inches from the bottom of the bag. Step #14- Open up the part you didn't sew and ... ...put that part together. Step #15- sew the open part together. (I hope these pictures make sense) Do this on both sides of the bag. It just makes a flat bottom to the bag. Step #16- Flip your bag right side out and you will have an awesome bag to take to the pool!!! Please feel free to email me at twiddlethumbs@rocketmail.com if you have any questions.
-Anisa

Monday, June 22, 2009

1 Craft 3 Ways- Travel Bag!!!

For our 1 Craft-3 Ways this month we decided to do some type of bag that you could use on a vacation. I have always wanted a HUGE swimming bag. We go swimming a lot and I need a bag big enough to hold 5 towels, 5 swimming suits, cover ups, life jackets, toys, etc..... that's a lot of stuff! So, when Angie made her placemat purse, I thought I could kind of do the same thing with a beach towel and make a BEACH TOWEL BAG. It took a little trial and error because the first bag a made was just tooooo huge. But I think I have perfected the process.

Look for my tutorial on how to make this awesome bag on Wednesday!! -Anisa

>><<
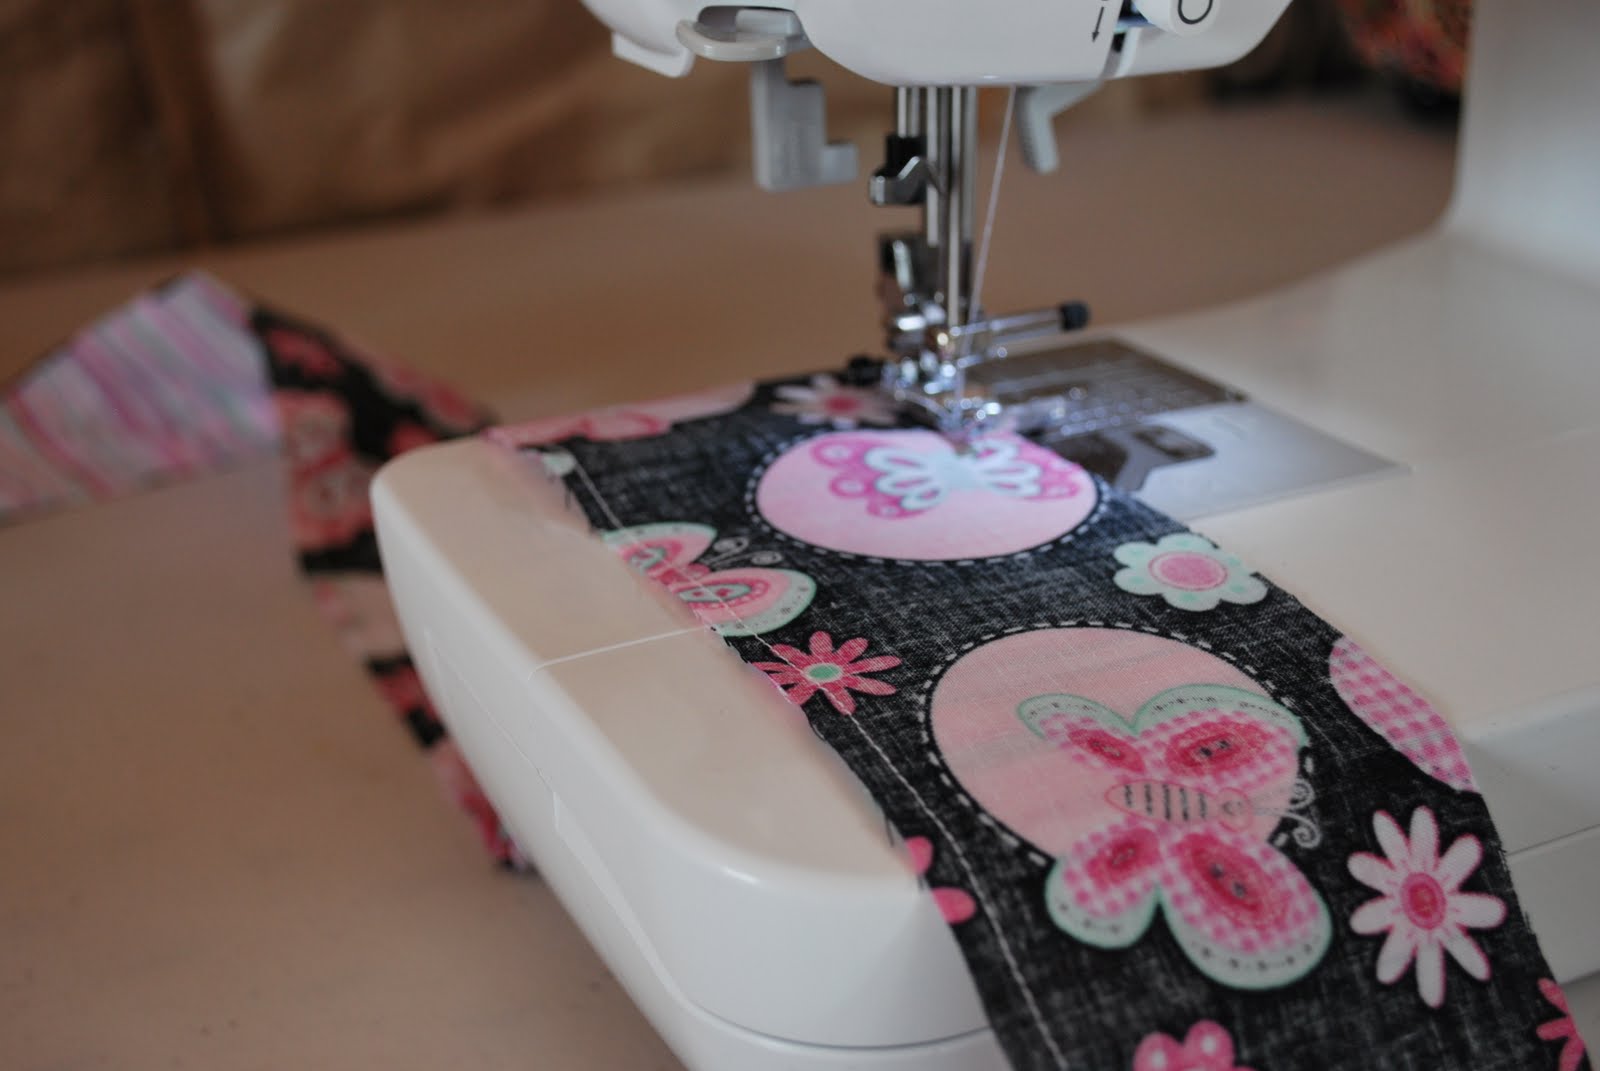
This little baby has been on my craft to-do list for sometime.
I knew it would be the perfect little tote for vacation for my kids (and me too). Then I started seeing little reusable sandwich bags popping up here and there. A perfect match. A water bottle holder paired with a reusable treat bag. LOVE it. I got the tutorial for the holder here at Pink Chalk Studio (via Ucreate). The treat bag is of my own design. (Hey-sometimes reinventing the wheel is much more fun than following the directions.) In order to make it day-out friendly, I attached some grommets (a.k.a. eyelets) to both the treat bag and the holder and fastened them together with a key ring (the kind that pull open). Now the kids can carry their own water AND their own snack. Brilliant!

Watch for a tutorial soon on making your own reusable treat bags!-Ang

>><<
I had no idea what I'd do for a travel bag until my friend Rachel mentioned she liked a bag that another friend had and that she'd love a similar one herself for a writer's conference attending. Like a true crafter I blurted out: "We could make that!" and I did. I got the original concept from this pattern, but enlarged it somewhere in the 25-30% range. I also designed interior pockets to fit the user's purpose better. (If you'd like clearer pattern instructions that the link, email us and I'd be happy to provide them.)

The finished bag was about 18" x 13", enough to fit legal length writing pads and a larger laptop. The hidden closures were also my design (along with some other cosmetic changes). Buttons are sewn to the main body of the bag and coordinating button-hole straps are sewn on the inside of the flap. Being only my second challenging sewing project, I'm pleased it turned out so well and as requested: serious on the outside, fun and girly on the inside! --C